October 12, 2013

Halloween Carnival - Stare Down a Gargoyle and the Haunted Carousel

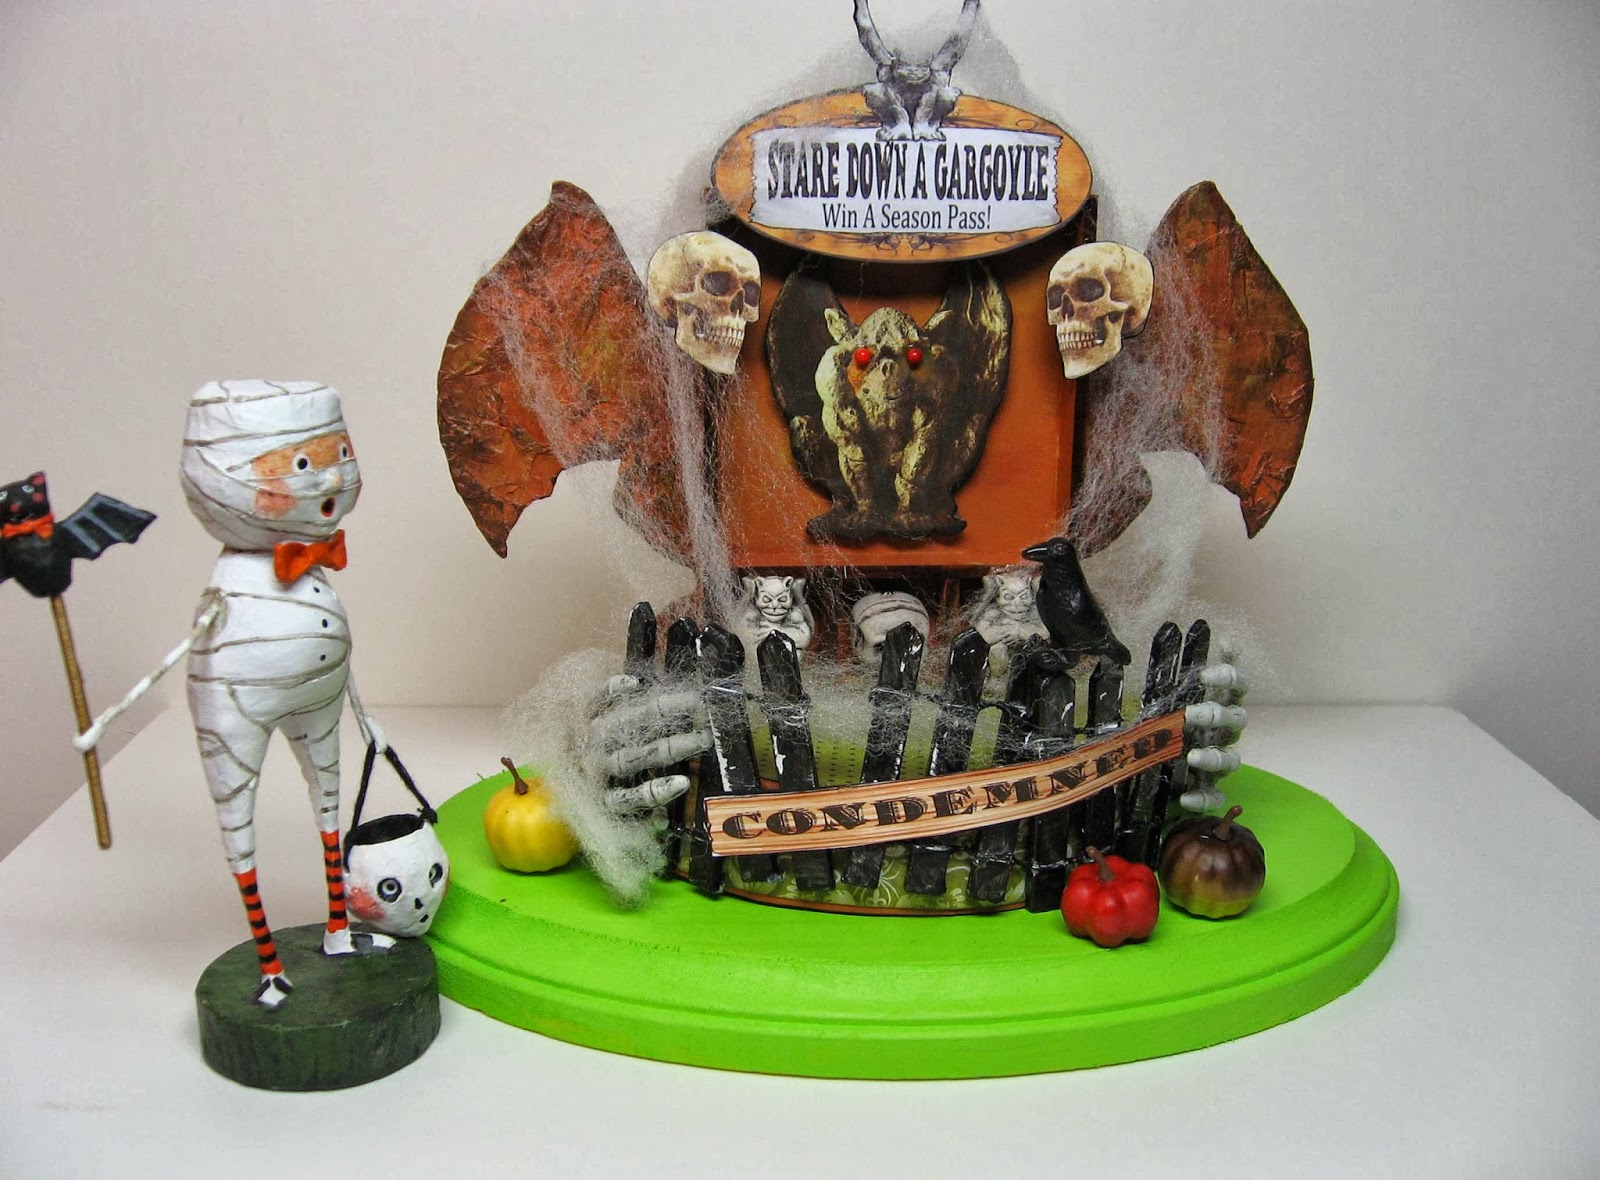
Today we'll look at the last two elements I made using tutorials from Laura Carson's (artfullymusing.blogspot.com) Halloween Carnival - Stare Down a Gargoyle and the Haunted Carousel.  For more details, tutorials and videos, and to make your own version of Laura's fantastic project, please go to her page dedicated to the carnival.

Stare Down a Gargoyle - Win a Season Pass - this was a fun element because it included both building something and learning a new technique.

First the building...The main vertical construction is a masonite box (CubbyHoles 4 Compartments - AlphaStamps.com) which is easily put together.  I love these masonite constructions - I have built many different ones.  A handy supply/tool to have for these is the Quilled Creations Precision Tip Glue Applicator Bottle.  It puts out a fine line of glue - as my niece says "I don't know how we ever managed to do any crafting before we got this".

October 11, 2013

Halloween Carnival - Stump an Owl and Boo Bash

Today is the third of four installments looking at the elements I have made for my version of Laura Carson's (artfullymusing.blogspot.com) Halloween Carnival.  For more details, tutorials and videos, and to make your own version of Laura's fantastic project, please go to her page dedicated to the carnival.

Let's start with Stump an Owl.  I haven't got all the elements that Laura has on her version yet.  There's a book that I want to add but I need to improvise something to put it on.  I think it definitely needs that additional element, and I think I will follow Laura's lead and add some foliage or other decorations to the top (there's a nice ledge there).

The figurine is Bat Boy Ben.

October 10, 2013

Halloween Carnival - Hot Air Balloon and Pumpkin Pets

Today is a continuing look at the elements I have made for my version of Laura Carson's (artfullymusing.blogspot.com) Halloween Carnival.  For more details, tutorials and videos, and to make your own version of Laura's fantastic project, please go to her page dedicated to the carnival.

First off is the Hot Air Balloon.  Laura actually posted this tutorial along with a video before the carnival series began.  She included not only the balloon, but also a dirigible.  You can see the tutorial and the video on this page on her blog.

This was a super fun project to make.  Laura has great tips on how to put the balloon together very easily.  I used Graphic 45 Steampunk Spells paper from both the 8x8 and 6x6 paper pads.  I really love this paper collection.

Just about all of the collage elements are from one or more of Laura's collage sheets.  The exception is the bats.  I just couldn't face cutting out 20 bats!  Luckily a friend had a die and cut out oodles of bats for me to use both on this element and other elements in the project.

October 9, 2013

Halloween Carnival - Ticket Booth and Directory

Ever since Laura Carson (artfullymusing.blogspot.com) announced her Halloween project for this year - a Halloween Carnival - I couldn't wait until she started posting the videos and tutorials.  You can see the entire project and instructions on her blog on a page dedicated to the carnival.  I've lost track of the count of all the elements that can be built - there's booths and games and rides - and even a hot air balloon!

I've made eight of the projects so far - the Ticket Booth, Directory Signpost, Pumpkin Pets, Stump an Owl, Boo Bash, Stare Down a Gargoyle, the Haunted Carousel and the Hot Air Balloon.  I also accepted Laura's challenge to create a element of my own -I'm calling it the Zombie Zipper - which is almost done and I will show it in a later post.

Throughout the projects I have used two paper collections - Graphic 45 Steampunk Spells and Wicked by My Mind's Eye.  I used images from all of Laura's Halloween collage sheets from both this year and last year.

In the photos you may see one of the Lori Mitchell Halloween figurines I have been collecting over the last few years.  I am always on the lookout for new ones in a shop we frequent on vacation.  This year I added two - the mummy (thanks to my sister) and the little bat boy.  I knew when I saw the carnival it would be the perfect environment for these characters and it is!

Today I'm featuring my versions of the Ticket Booth and Directory Signpost.  These were the first two I made.  I followed Laura's directions and used many of the items she listed in the first tutorial.  The only change I made was to add the two shutters to the Ticket Booth - I wanted a little more width.