 Today I'm answering Laura Carson's challenge to create an element of my own design to go with her Halloween Carnival. To learn more about this challenge and the carnival project including details, tutorials and videos, please go to Laura's page dedicated to the carnival.
I knew I wanted to make a ride with some height so I searched for images of carnival rides and found one that I thought could work...the zipper. I knew that capturing all the different movements would probably be too challenging, but I thought that I could design something that was similar. The zipper turns on one central access point and the cauldrons swing and move as they go around. I must confess that the side tower support design is basically the same as the system Laura designed for her ferris wheel.

I also considered several options for the "riders". I had made some figures out of paper clay, but thought they might be a bit heavy. Then I thought, of course! - the ghosts from Laura's collage sheets would be perfect riders. I added some fall colored tinsel so the ghosts could be seen a little better.
Here's a video of the Zombie Zipper in action. I also filmed the making of this project. Links to that video series as well as a construction guide with the supplies and steps I followed are on the "Projects" page under "Zombie Zipper" (or follow this direct link). And to see how this element looks with all the other pieces I made for the Halloween Carnival, check out the Halloween Carnival project page.
5 comments:
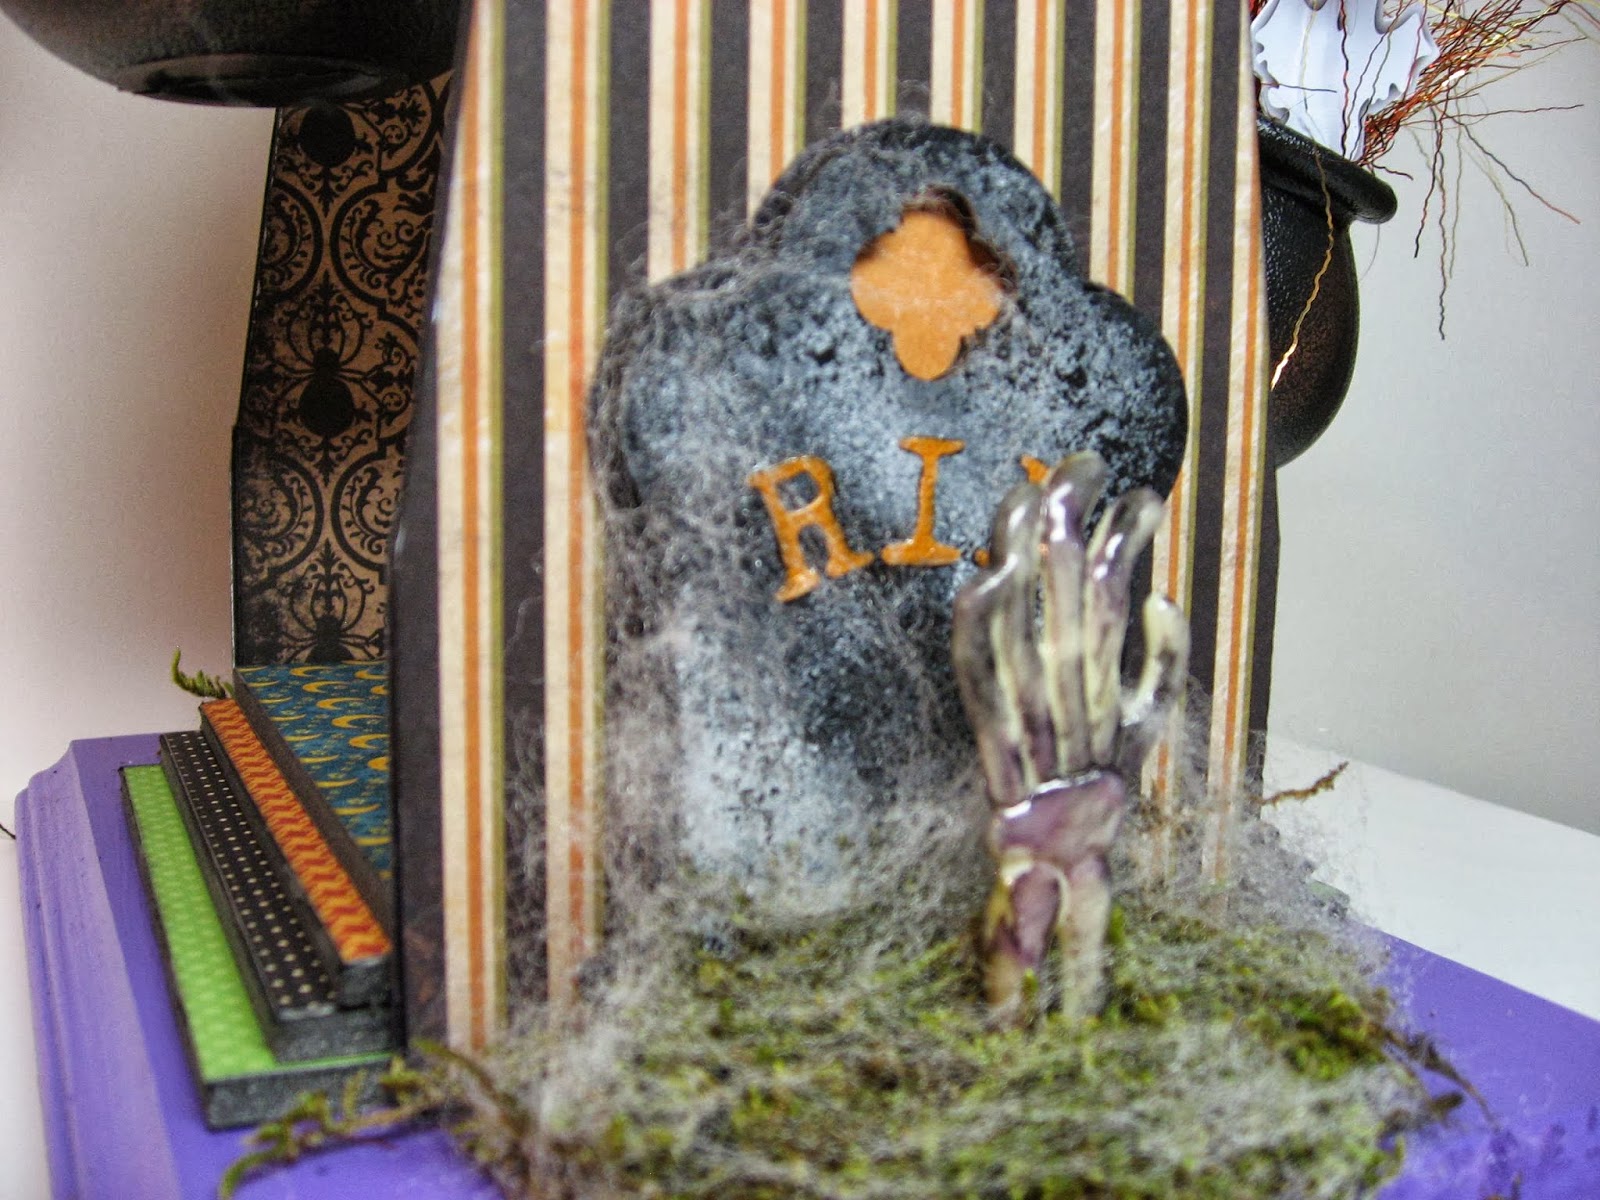
Cool video showing how the zipper works and the cauldrons plopping around making wonderful noises (and how well constructed the whole thing is). I particularly like the zombie hands coming out of the graves and how they seem to shimmer with skeletal bones and the moss and fog effects. The little staircases on the base of the zipper with the different colored "rugs" and the patterned walls inside the zipper - such great touches. But the hands are absolutely my favorite. What an effect!
Wow - I love seeing it in action. Very nice job!!
Wow! this is a fabulous ride!! Well done! Did you do more of the carnival too?
hugs Karen
Thanks for your kind comments. Yes I made eight of Laura's carnival elements - I loved her project! You can see them on posts from October 9 - 14....April
Hi April! How cool is this!? I love the way that you have finished both the front and the back and you have such wonderful details in the filled cauldrons too! A lot of fun to look at and enjoy!
elizabeth
Post a Comment