
There are some things that I would do differently next time (for instance I think it could have been wider at the top) and some opportunities to add embellishments to the balloon as it is being constructed, now that I know that this construction method actually worked!
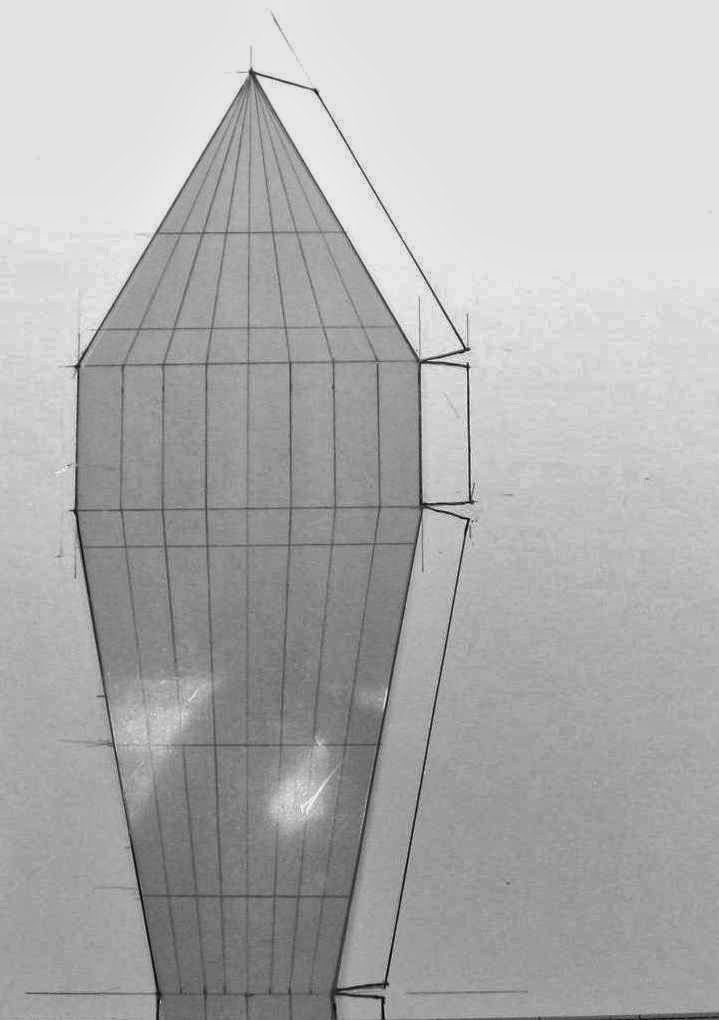
The balloon itself is actually a very straightforward construction. I used the template available from Laura Carson (artfullymusing.bogspot.com) on her Hot Air Balloon tutorial page and just modified the length. For details on how to construct the balloon please see that tutorial - for the balloon construction I am only including here the special steps I took to add the plastic layer.


Here you can see the plastic attached to the vellum (I did remember to remove one layer of blue protective film first - that's the top blue layer you see). I cut some strips of the Xyron release backing to protect the sticky layer on the attaching tabs.
Future note - maybe use a black marker on the vellum first - this could look like the leaded lines between glass panels.

Five panels are needed


- Cut a hole using the 2" Sizzix circle die in a piece at least 3 1/4" square
- Find the center
- Insert the marked center and extend the marks to create a larger circle with a diameter that fits inside the balloon's rim
- Cut the outside circle to make a ring
Using one of the rings and a center create I created the platform for the light.

- Trim about 1/16" from the inside circle so it can swing easily.
- Punch 2 holes on one side and another opposite
- Not shown here
- I did reinforce the holes in the center with eyelets
- I added a hole and jump ring on the inner circle only between the two that are close together - it will be used for the closure
- Add jump rings

- Bottom layer - from previous step
- Use Crop-O-Dile to provide some swing room for the jump rings in the 2nd layer
- and 4. Plain rings
Not shown. I notched the rings in 5 places on the outside to allow space for a 3mm skewer to fit between the balloon and the rim. The ske
wers will be used to support the basket.

Using strong glue I pushed the 1/4" end up into the notches I cut and allowed to dry.
I didn't take any pictures of creating the basket. It was simply 5 pieces of chipboard, butted side-by-side with cardstock construction strips on the inside. I used Tim Holtz' Diamond Plate Texture Fade to emboss some metal foil tape.

My plan was to allow space below the skewers for a thin metal rod to be inserted from the bottom. The five rods could be used as long legs - an alternative to hanging the balloon. By keeping the skewers short they would provide a stopper so the rods could only go up partway inside the basket.
I lined the basket with a strip of card stock covered in metal foil. I made sure to keep a small space in the corners under the skewer ends as a channel for the rods.
I cut a piece of black foam core sized to fit inside the pentagon for the base. I put a small notch at each point for a rod to go through. Foam core was necessary because I wanted to use some of Laura's collage characters from the Halloween Carnival digital images as riders in the balloon (Frog and Sheep Character and Moon Man). I used her pin technique in the bottom of each character so they could easily stand up in the foam core base of the balloon's basket.
Decorating...

The light platform is held closed by a 3mm skewer with a masonite propeller on the end. It fits through the jump rings to keep the platform closed.
I painted two corks and suspended them from a chain to simulate ballast (don't you love the irony of corks for ballast?)
I added a couple of more gears on a skewer and used an awl to poke a hole in the side and glued it in to the side of the basket.
I found some flat sided light bulbs (xxx) and glued them to the rim of the balloon.


You can see the rods in this photo but when it is in the carnival the black rods blend into the black backdrop behind the carnival.
If you have any questions, please leave me a comment or send me an email and I will do my best to answer them.
See the balloon as part of the entire Halloween Carnival in the photos on the Halloween Carnival Projects page.
1 comment:
Your hot air balloon is fabulous! Thank you so much for sharing how you created your balloon. Linda
Post a Comment